HomeElectrical Connectors and PlugsECU, Display, PDM connectors & Accessories

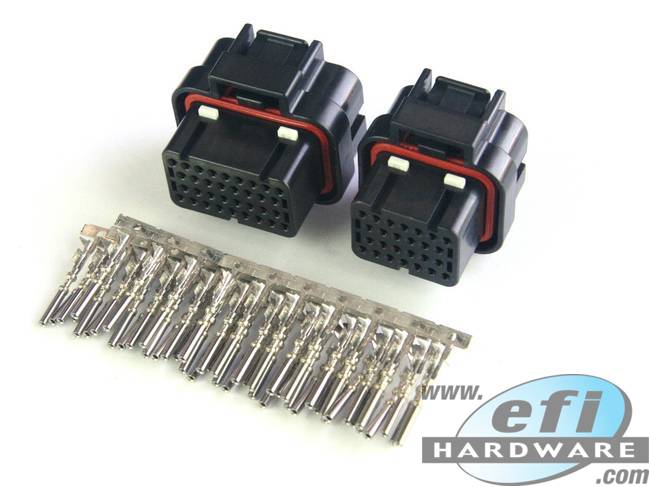
26/34 Way AMP Super Seal Kit "1" Keying
Product Code: C60F-0001
inc GST for Australian CustomersAUD $70.00 (ex GST)
for International Customers
GBP42.06
EUR82.89
NZD7,679.47
JPY49.55
USD
This connector set comprises 2 separate connectors. There is a 34 Pin Connector, and a 26 Pin Connector.
APPLICATIONS:
MoTeC - M400 / M600 / M800 / PDM15 / PDM30 / E888 / M84
Wolf - V500 / V550
Haltech - PS1000 / PS2000
Haltech - Elite 550, 750, 1000, 1500, 2000, 2500
Adaptronic M2000
Suzuki Hayabusa -GSX1300R Gen I ECU
ASSOCIATED Components:
| PART NUMBER | DESCRIPTION | IMAGE |
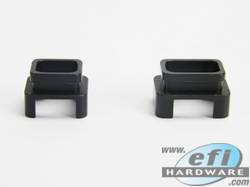
| C-ECU-60-BS-90 | Backshell and moulded boot kit |  |
| C-ECU-60-BS | Billet Back shells only |  |
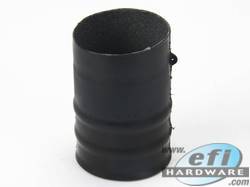
| C-ECU-34-SB | Ray Chem Heat Shrink Boots |  |
TOOLS:
| PART NUMBER | DESCRIPTION | IMAGE |
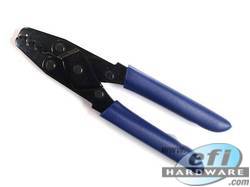
| D-HT-F0220 | universal crimp tool |  |
PIN REMOVAL:
The great thing about this connector, is that you don't need a pin removal tool to remove the pins.
On the underside of the connector is a single white plastic line.
Push that single white plastic piece in, and it will unlock the pins. You will also see two smaller tabs sticking up on the top side of the connector. This indicates that the connector pins are unlocked.
The two smaller tabs also stop you from plugging in the connector when you disabled the pin lock.
Now you can pull out, or insert pins as you need.
To lock the pins in place, you simply push in the two small white tabs on the top side of the connector down.
You can now plug the connector back in.


